Comprehending the Important Techniques of Gluing for Home Improvement Projects
In the realm of home enhancement, mastering the crucial strategies of plastering can dramatically boost both the functionality and visual allure of a room. Different approaches exist, each tailored to certain applications, whether for recovering historical honesty or updating insides. The plastering procedure incorporates critical points, from meticulous surface area prep work to the accurate application of materials. Comprehending these foundational elements is crucial, yet several home owners overlook usual risks that can weaken their efforts. As we explore these techniques further, the nuances of attaining a perfect coating will certainly come to be progressively evident.
Kinds Of Plastering Methods
Although numerous plastering techniques exist, each serves an one-of-a-kind objective and supplies unique visual high qualities. Among the most typical approaches is traditional lime plastering, which is understood for its breathability and adaptability. This method is particularly beneficial for older structures, enabling wetness to escape while preserving architectural honesty.
Another widely made use of method is plaster plastering, which includes the application of a quick-setting substance. It supplies a smooth finish and is ideal for indoor wall surfaces and ceilings, making it a prominent option in contemporary building and construction. For an extra textured look, trowel-on plastering techniques such as stucco and Venetian plaster are typically used. Stucco, typically made use of in exteriors, gives sturdiness and weather resistance, while Venetian plaster is renowned for its glamorous, refined surface.
Furthermore, there are much more specialized strategies, such as skimming, which is a procedure that entails applying a slim layer of plaster over existing surface areas to produce a smooth finish. Each of these methods can dramatically influence the total aesthetic and performance of an area, making it necessary to select the appropriate technique based upon the certain demands of a task.
Devices and Materials Needed
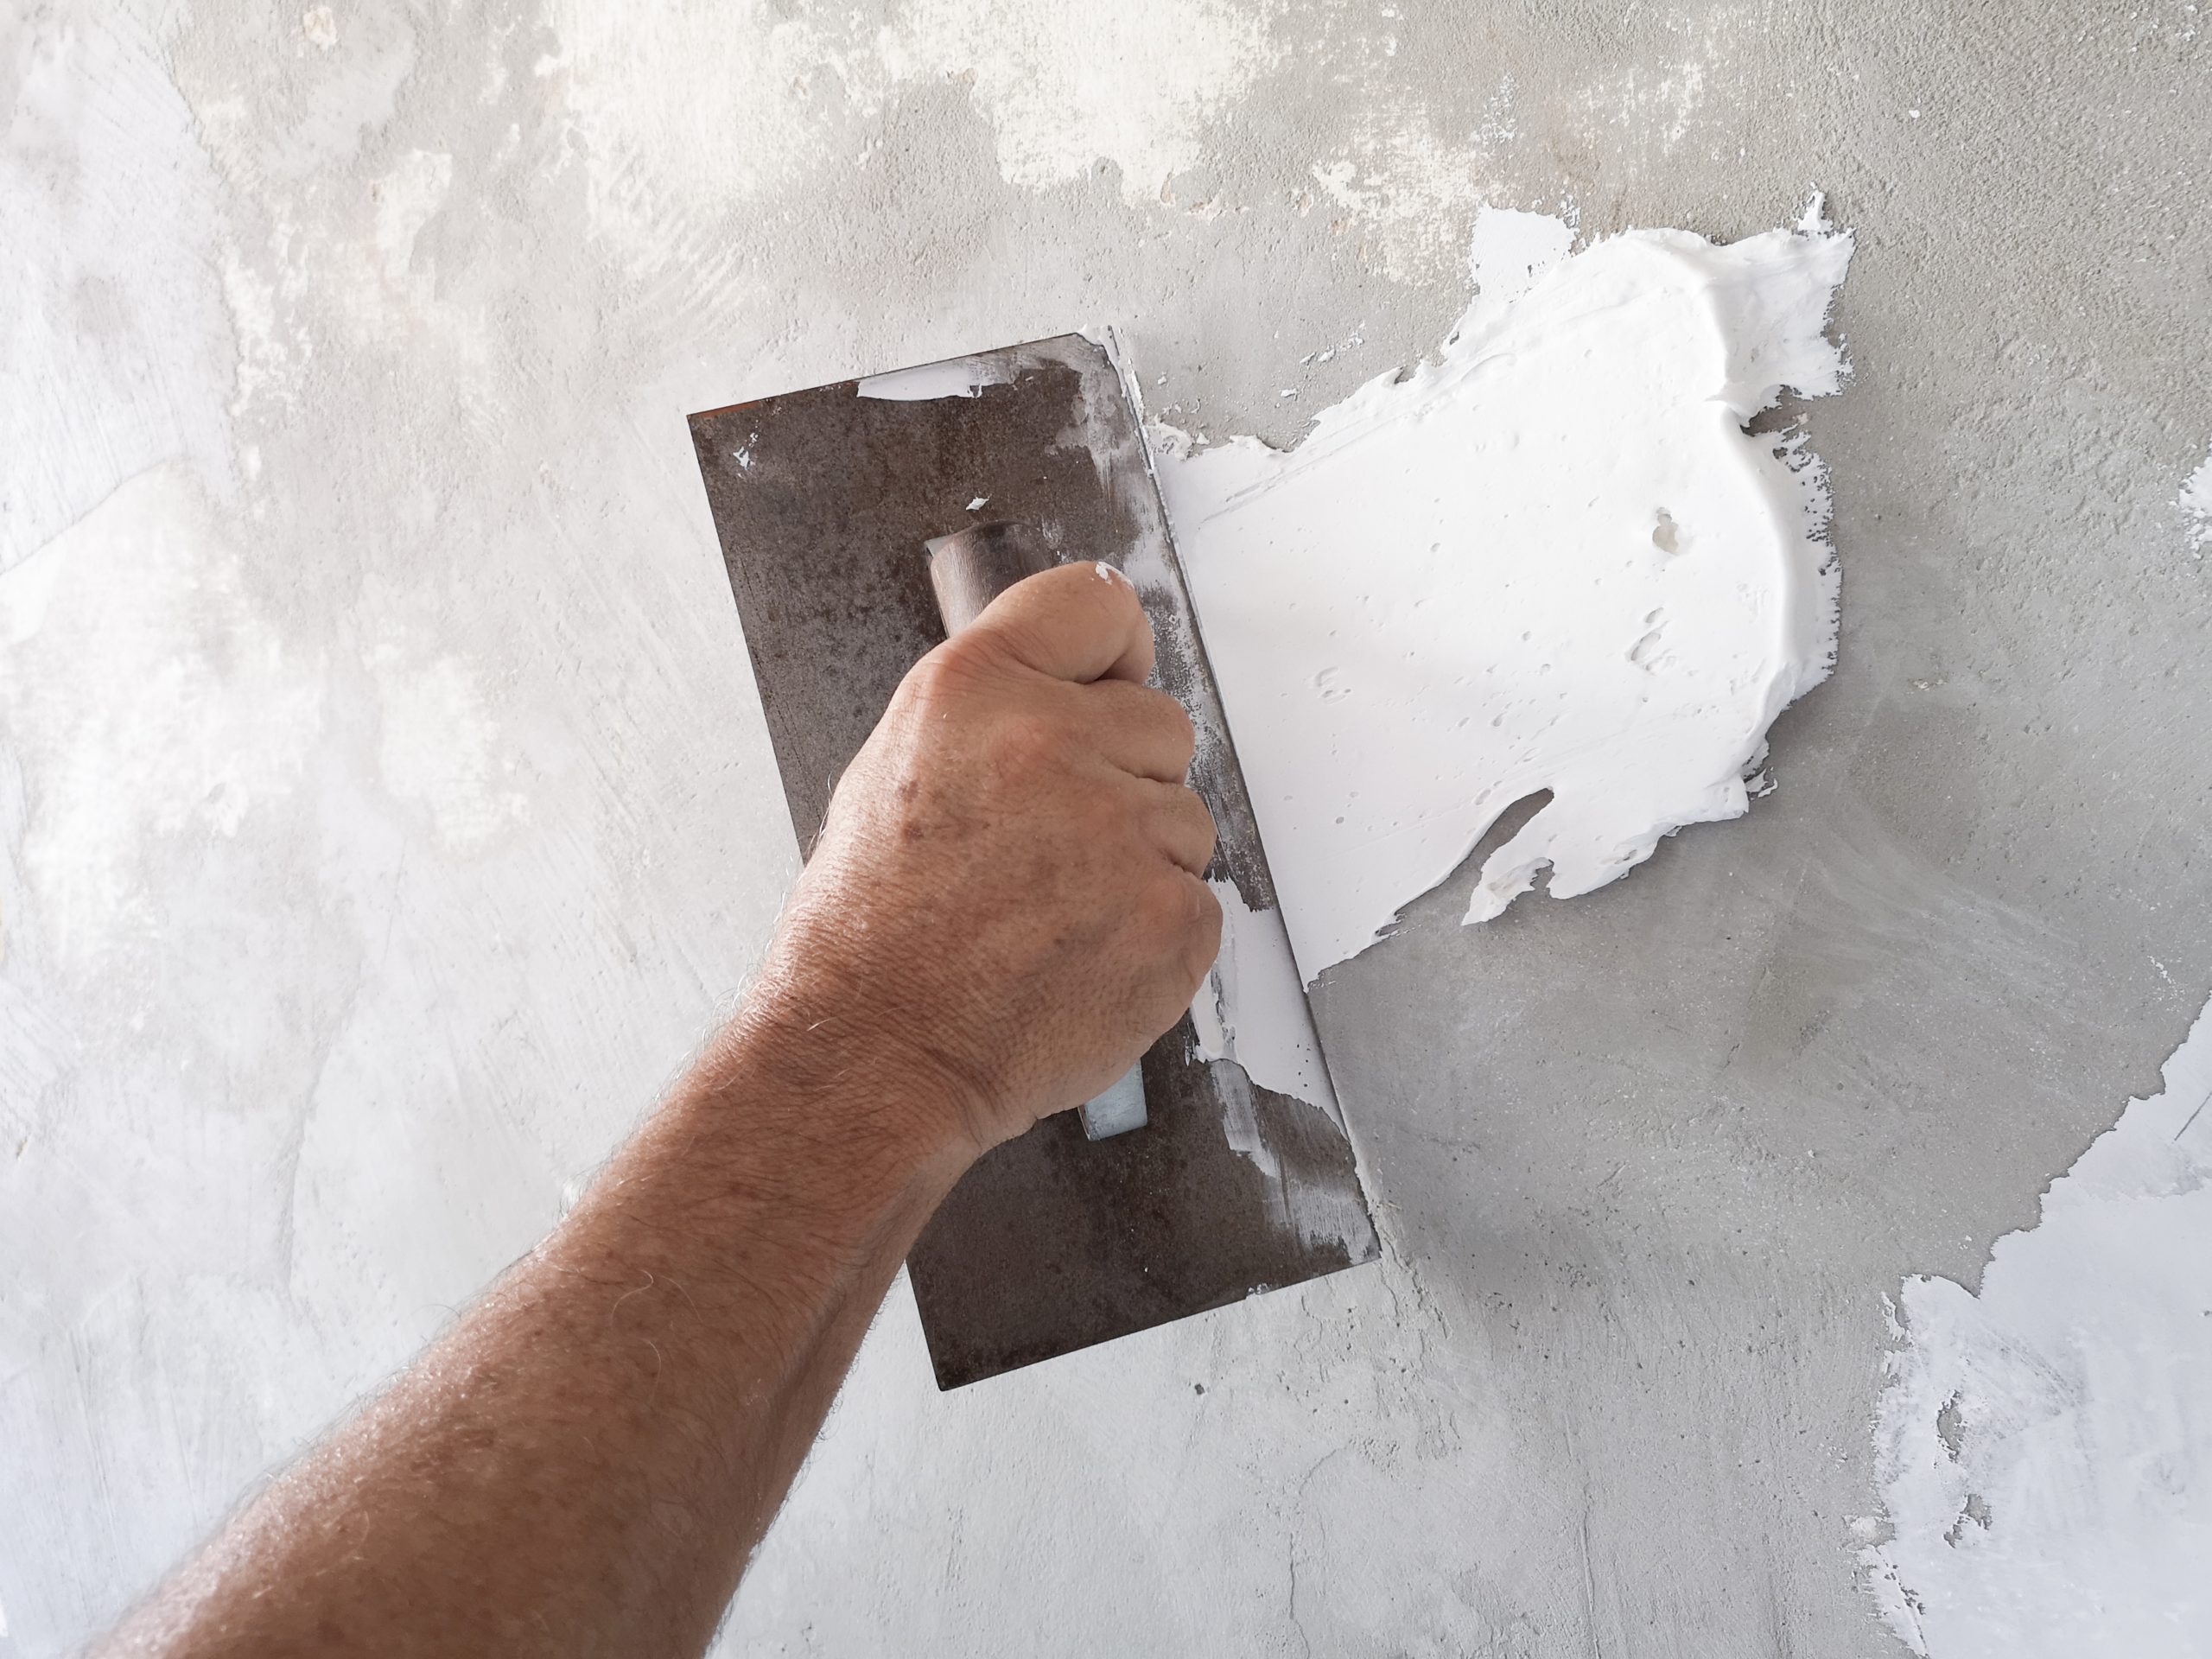
Important devices and products are vital for effective plastering, ensuring both effectiveness and quality in the application procedure. A thorough plastering toolkit typically consists of a hawk, trowels, and a float. The hawk functions as a platform to hold the plaster, while the trowels, available in numerous sizes, are essential for application and smoothing. A float, usually made of rubber or sponge, is utilized to accomplish a consistent surface.
Spending in high-grade tools and materials ultimately adds to a much more successful gluing project, generating a sturdy and cosmetically pleasing finish. Properly equipped, you lay the foundation for efficient smudging and home renovation.
Step-by-Step Plastering Process
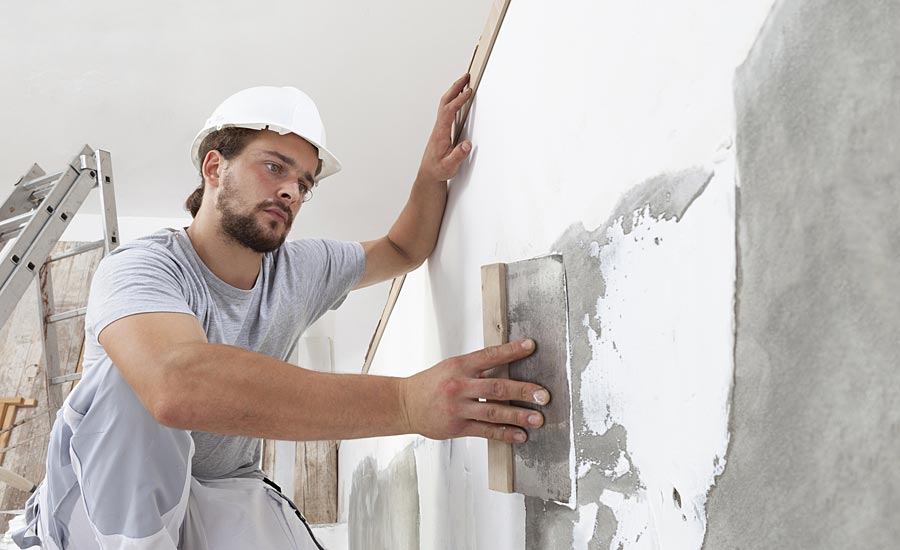
With the right devices and products in hand, the following stage involves performing the plastering procedure with accuracy. Begin by preparing the surface to make sure optimal adhesion. Eliminate any type of loose particles, dirt, or old plaster, and apply a bonding representative if necessary.
As soon as the surface is prepped, blend the plaster according to the supplier's instructions, achieving a smooth, lump-free uniformity. Making use of a trowel, apply the very first coat, called the scratch coat, to a density of about 5-10 mm. Ensure uniform coverage, and utilize a comb or scratcher to produce grooves for better attachment of succeeding layers.
After permitting the scratch coat to establish partially, use the second layer, or the brown coat, smoothing it out for an also coating. Enable this layer to completely dry, usually for 24-48 hours, depending this on the problems. Ultimately, apply the completing coat, which must be thinner and smoother. Feather the edges to mix into the bordering surface, attaining a seamless look.
Once the plaster has actually dried extensively, it can be sanded gently to get rid of flaws. Follow up with a guide prior to painting for a polished final appearance.
Typical Errors to Avoid
Stopping working to acknowledge usual pop over to these guys errors can considerably impact the high quality of your plastering job. One constant error is insufficient surface prep work. Falling short to prime and clean the surface can bring about poor adhesion, leading to fractures and peeling off. Moreover, neglecting to repair any underlying problems, such as wetness or architectural damage, can jeopardize the plaster's stability.
Timing is also vital; lots of inexperienced plasterers rush the application. Enabling the preliminary layer to dry totally prior to using succeeding layers is essential to stop extreme fracturing and contraction.
In addition, not using the right tools can impede the completing procedure. Making use of trowels that are small or as well huge can affect your control and the smoothness of the finish - Plastering. Lastly, ignoring environmental problems, such as temperature and humidity, can lead to unequal drying out and unsuitable outcomes. By bearing in mind these usual pitfalls, you can enhance the performance and long life of your plastering job.
Tips for Finishing Touches
Accomplishing a perfect finish in plastering calls for focus to information and a few calculated methods. When the preliminary application has dried, begin the completing procedure by utilizing a damp sponge or trowel to ravel any imperfections. This action not only enhances the surface area yet likewise helps to eliminate any excess plaster that might have dried out unevenly.
Following, consider using a fine-grit sanding block or pole sander for a more refined appearance. Fining sand should be done delicately to stay clear of harming the underlying layer - Plastering. Constantly wear a mask to safeguard versus dust inhalation
After sanding, evaluate the surface under different Related Site illumination conditions to recognize any type of missed variances or spots. Use a slim layer of completing plaster if required, feathering out the edges to mix flawlessly with the bordering area.
Conclusion
Finally, understanding necessary plastering strategies substantially improves the high quality of home improvement projects. Understanding the various sorts of plastering methods, making use of suitable tools and materials, and sticking to an organized application process contribute to accomplishing a smooth and sturdy finish. By staying clear of usual blunders and carrying out complements effectively, the overall visual appeal and performance of restored areas are guaranteed. These methods eventually cause gratifying and successful home improvement end results.
In the realm of home enhancement, understanding the vital techniques of smudging can substantially improve both the functionality and aesthetic charm of an area.Although different smudging techniques exist, each offers an one-of-a-kind objective and offers unique visual top qualities. Plastering. For a more distinctive look, trowel-on plastering techniques such as stucco and Venetian plaster are commonly utilized. Stucco, frequently made use of in exteriors, provides resilience and weather resistance, while Venetian plaster is renowned for its extravagant, sleek surface
Typically utilized plaster kinds consist of gypsum plaster, lime plaster, and cement-based plaster, each offering various functions and settings.